


DIY Beeswax Food Wraps: A Plastic-Free Kitchen Swap
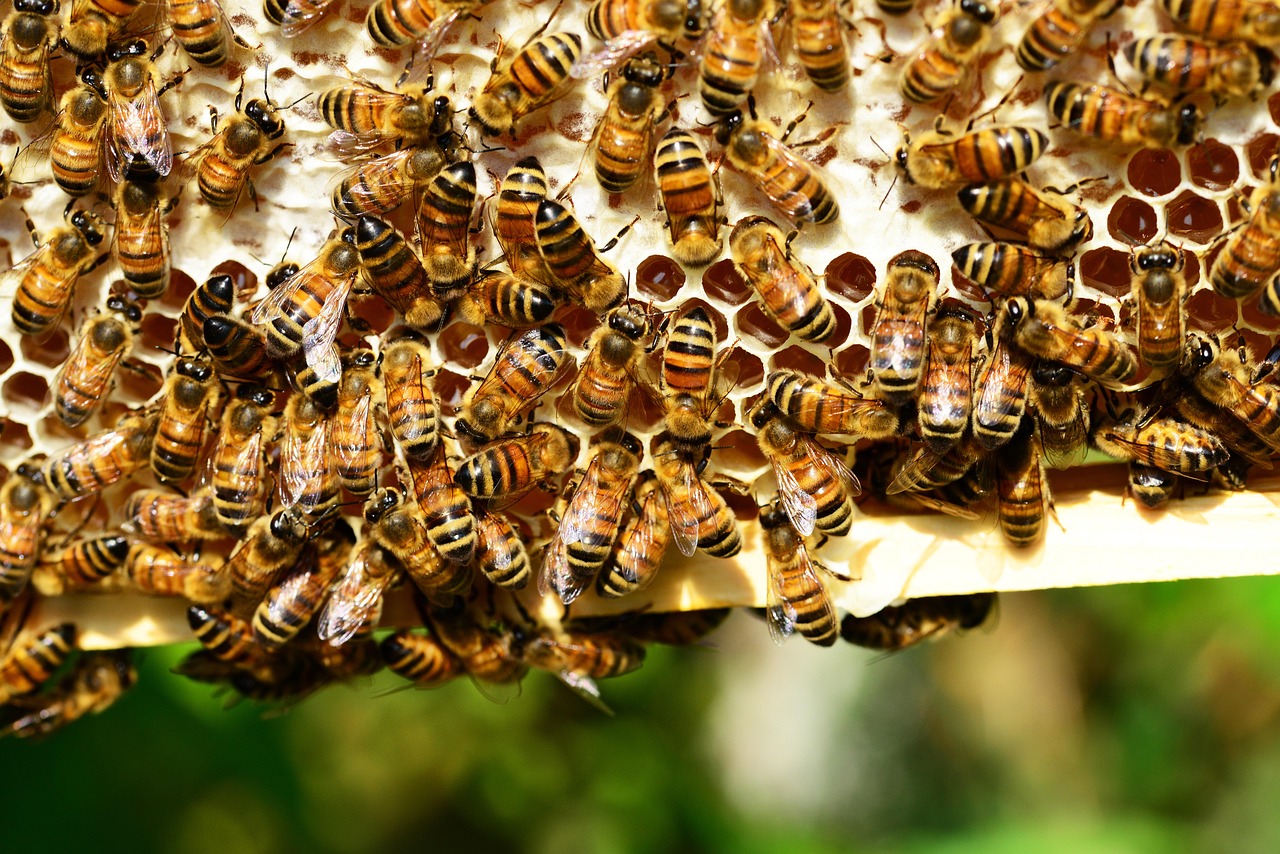
Beeswax wraps are one of those rare DIY projects that are both beautiful and genuinely useful. They replace plastic wrap for covering bowls, wrapping sandwiches, and storing cheese or half an avocado. The fabric becomes slightly tacky from the wax, so it clings to itself and molds around containers. Once you make a batch, you will wonder why you ever bought plastic wrap.
You will need tightly woven cotton fabric, beeswax pellets, jojoba oil or another liquid oil, pinking shears or regular scissors, a paintbrush dedicated to wax, parchment paper, and a baking sheet. Cotton scraps from old shirts or quilting leftovers work perfectly. Avoid synthetic fabrics, which do not absorb wax well.
Cutting Fabric and Mixing Your Wax
Cut your fabric into useful sizes. Squares around eight by eight inches work for small bowls and snacks, while twelve by twelve inches cover larger bowls or wrap a block of cheese. Pinking shears give a zigzag edge that reduces fraying, but a straight cut works fine too since the wax will seal the edges.
Preheat your oven to around two hundred degrees Fahrenheit. Line a baking sheet with parchment paper. Lay a fabric square flat on the parchment. Sprinkle beeswax pellets evenly over the fabric, using roughly one tablespoon per eight-inch square. Drizzle a few drops of jojoba oil over the wax. The oil keeps the wraps flexible and prevents them from becoming brittle.
Slide the tray into the oven and watch closely. The wax melts in just a few minutes. Once it is liquid, pull the tray out and use your paintbrush to spread the wax to every corner and edge. If you see dry patches, add a few more pellets and return the tray to the oven.
Cooling, Curing, and Caring for Your Wraps
Lift the fabric by two corners and hang it over a bowl or drape it on a drying rack. It cools in about a minute and becomes slightly stiff. If the coating looks uneven, you can reheat the wrap in the oven and smooth it again. Repeat the process for each square.
To use, press the wrap around a bowl or fold it over food, using the warmth of your hands to mold it. The wax softens with body heat and holds its shape as it cools. Avoid using beeswax wraps on raw meat or fish, since they cannot be sanitized properly.
Wash your wraps in cool water with a mild soap, rinse, and air dry. Never use hot water or a dishwasher, as heat melts the wax. With regular use, the wax coating will thin out. Refresh it by laying the wrap on parchment and adding a light sprinkle of new beeswax pellets, then melting it in the oven again.
A set of these wraps, tied with a ribbon and paired with a few wooden clothes pegs, makes a thoughtful zero-waste gift. They last about a year with good care, and when they finally wear out, you can compost the cotton and start a fresh batch.


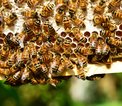
Make reusable beeswax wraps from cotton fabric, beeswax, and a little jojoba oil to replace plastic wrap in your kitchen.
Give worn-out jeans a second life as sturdy, stylish plant hangers that bring texture and character to any room.
Learn the basics of needle felting and sculpt your first adorable wool creature with just a few supplies.
Transform thrifted teacups into charming soy candles that make perfect gifts and cozy accents.
Create beautiful earth-toned fabrics using onion skins, avocado pits, and other everyday kitchen leftovers.