


Block Printing on Fabric: Carve Your Own Stamps at Home
Block printing is one of those crafts that looks impressive but is genuinely accessible to beginners. You carve a design into a soft rubber block, ink it up, and press it onto fabric. Within an afternoon you can turn plain cotton napkins into something that looks boutique-bought. I started with a single leaf stamp and now have a drawer full of hand-printed tea towels.
You will need carving blocks, linoleum or rubber carving tools, a pencil, tracing paper, fabric ink or screen printing ink, a brayer, a smooth printing surface, and fabric to print on. Natural fibers like cotton and linen take ink best. Pre-wash your fabric to remove sizing, which can repel ink.
Designing and Carving Your Stamp
Keep your first design simple. Bold shapes with clear positive and negative space work best. Draw your design on tracing paper, then flip it face-down onto the carving block and rub the back with a pencil to transfer the graphite. Remember that your printed image will be the reverse of the carved block, so flip any text.
Carve away the areas you do not want to print. Use a small V-gouge for outlines and a wider U-gouge for clearing larger areas. Always carve away from your body and keep your fingers behind the blade. Take shallow passes rather than digging deep, and test-print your block often to see how the design is developing.
Mistakes are part of the process. If you slip, you can often work the cut into the design or trim the block down. Rubber erasers and soft carving blocks forgive a lot.
Inking and Printing on Fabric
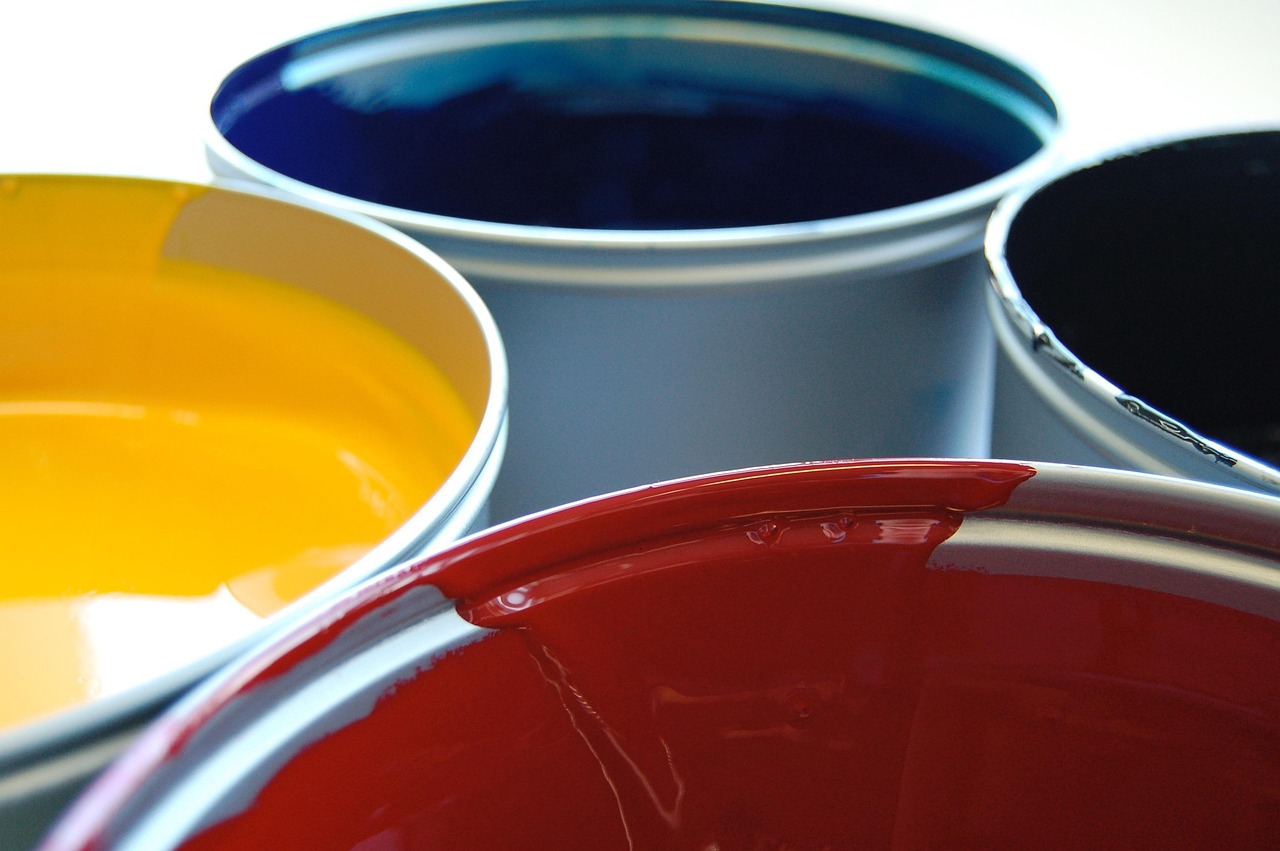
Squeeze a small amount of fabric ink onto a smooth surface like a glass cutting board or acrylic sheet. Roll your brayer through the ink until it makes a sticky, even sound. Roll the ink onto your carved block in several directions until the raised surface is evenly coated.
Place your fabric on a padded surface, like a folded towel covered with parchment. Press the inked block firmly onto the fabric and apply even pressure with your hand or a clean brayer. Do not rock or slide the block. Lift straight up to reveal the print.
For repeating patterns, mark light pencil guidelines on the fabric before you start. A simple grid or evenly spaced row of motifs looks intentional and tidy. Allow each print to dry before adding another if they overlap.
Once printed, let the ink dry completely, then heat-set it according to the ink instructions, usually with an iron on medium heat for a few minutes. Wash printed fabrics inside out in cold water and air dry to keep the prints crisp. Hand-printed tea towels, napkins, and tote bags make wonderful personalized gifts, and each one carries the small imperfections that prove it was made by hand.


Learn to carve simple rubber stamps and print them onto tea towels, tote bags, and napkins for custom handmade textiles.
Make reusable beeswax wraps from cotton fabric, beeswax, and a little jojoba oil to replace plastic wrap in your kitchen.
Give worn-out jeans a second life as sturdy, stylish plant hangers that bring texture and character to any room.
Learn the basics of needle felting and sculpt your first adorable wool creature with just a few supplies.
Transform thrifted teacups into charming soy candles that make perfect gifts and cozy accents.